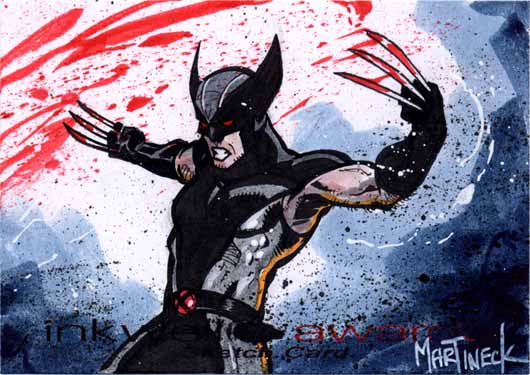
Probably the most frequent question I get is "How do you do them?" or "What do you use on your Sketch Cards?" Although I have done one of these "How to's" a few years ago, I thought it was about time I did another one and this latest set, Marvel Dangerous Divas, seemed perfect for it. As posted earlier, all the cards in this set will be 2 card puzzles. I had also planned one 4-card puzzle as something a little extra special and will be using that one for this demo.
Onward.
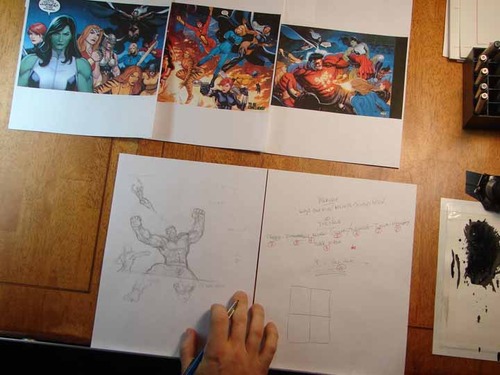
Yes, I do put a lot of thought into each card. I like to know what I'm drawing before I start. I'll even go as far as to set up a list of the entire set before I even start the first card. Especially on sets like the Marvel 70th or the DIvas set where I knew I was doing puzzles and wanted them themed in some way and the characters being paired up should be related in some fashion. So I'll do a lot of research before hand.
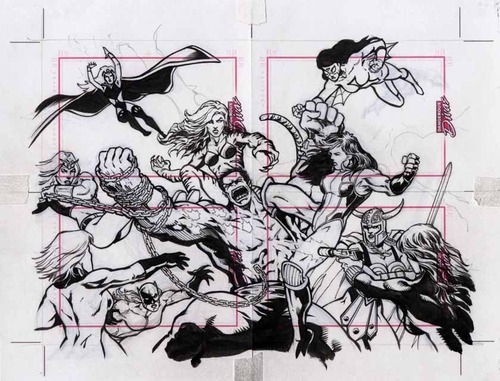
For this puzzle, I wanted to get the Lady Liberators all together and after researching their history, I figured the newer incarnation battling Red Hulk would be the coolest. I tried laying it out with all 10 characters on 2 cards but quickly came to the conclusion that 4 cards would be even cooler. (and much easier to layout)
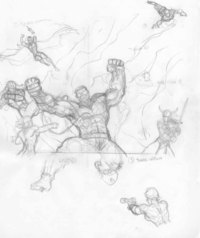
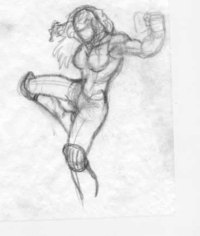
I decided to do the roughs on a separate paper as the card stock was some of the worst to work on. It bled and sucked up color like a sponge and I was worried that, knowing there would be a lot of erasing, I would f-up the paper even more. Sometimes you have to just shut up and deal with what you get and make it work.
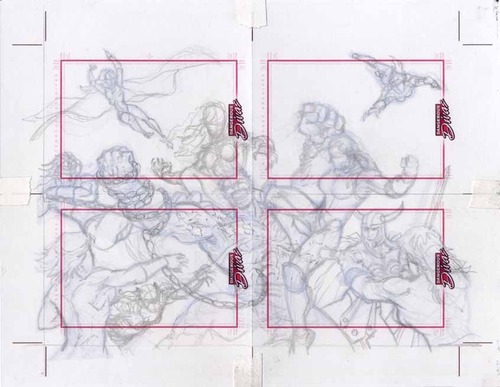
So for this puzzle I scanned my roughs, opened them up in Photoshop, rearranged, adjusted, resized, and put together the final rough on the computer and saved myself a shitload of time.
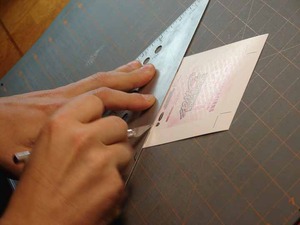
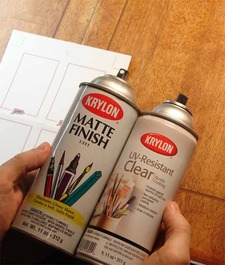
Focusing back on the card stock, I needed to prep them for the puzzle. I cut them down to size, connected, and taped them up. Through trial and error, I learned these cards needed a good spraying before hand to slow down the "sucking" process. I used a coat of Matte Finish and a coat of Acrylic Coating from cans I had lying around and this worked great when it came time to color.
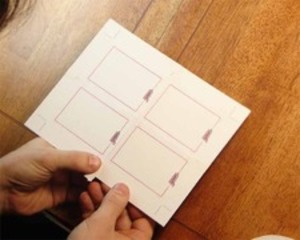
Once the cards were dry, I fed it through my printer and printed out the rough in a light non-photo blue right on the board. From there I went right in with pencil to flesh out and rework bits here and there. I usually go right to inks after I tighten up things like faces and hands.
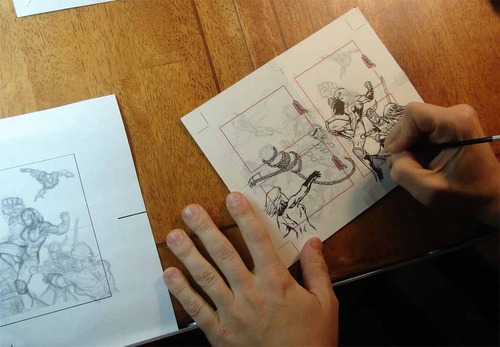
I like inking mostly with a brush and India ink as it goes quicker and you get a more permanent and interesting line than with a marker. I also tend to put in more blacks this way which always makes it look better. I save details like faces, hands, and little stuff for Microns.
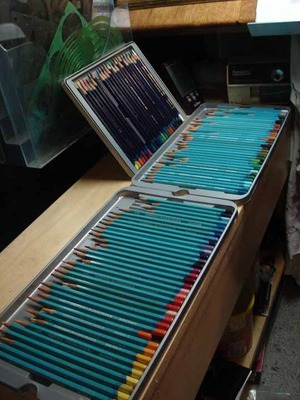 I have an array of Watercolor and Ink pencils I use for the base colors and will get most of it down before I hit it with any water. I'll go in afterward with some Dyes to really punch up the color, darken areas that need it and make the contrast stronger.
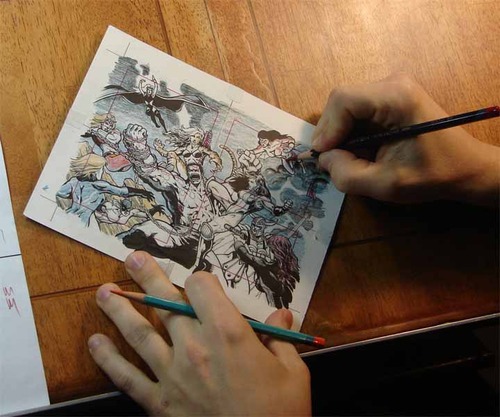
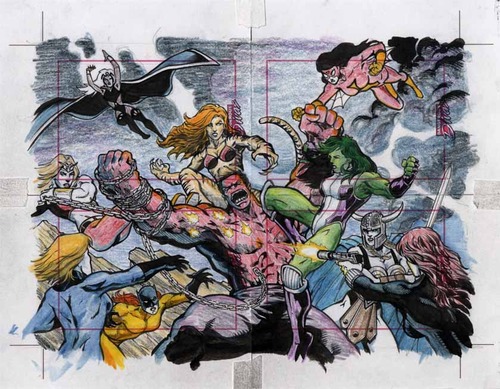
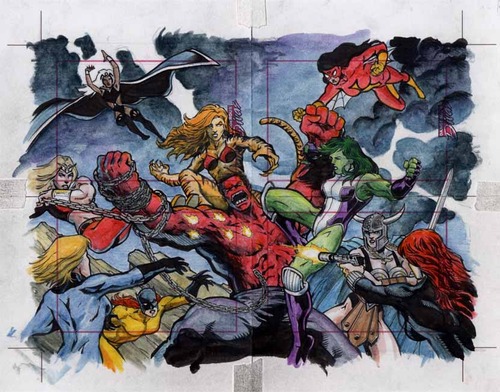
Now that it's almost done, I'll go in with White Out, Graphic White, or a thick White Gouache to add in highlights or emphasize certain areas.
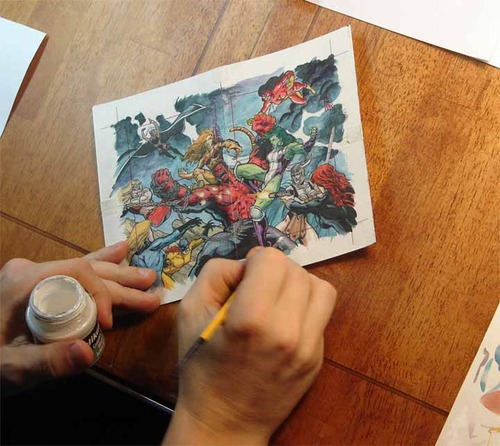
Once I'm happy with the finished piece (or at least when I think I've officially spent too much time on one piece) I'll sign it up, cut it down and make a good scan for my records.
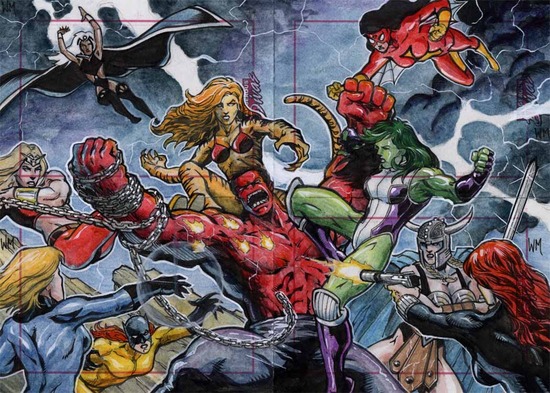
So there it is.
I do believe this will be the last one I do like this as it took some time with the pictures, scans, typing, and posting. I do believe I will be looking into setting up for Live streams and video as it looks so much easier getting it out there and I like the idea of fan interaction. (Warning: I'm a hummer when I get lost in a drawing - I'll work on it)
Thanks for following along.
Later
WM
_______________________________________________________________
Warren Martineck
 Thursday, April 14, 2011 at 8:46AM
  Digital Painting
